This is a collection of a series of postings on LEC by Specky
Some formatting has been altered to make it more readable.
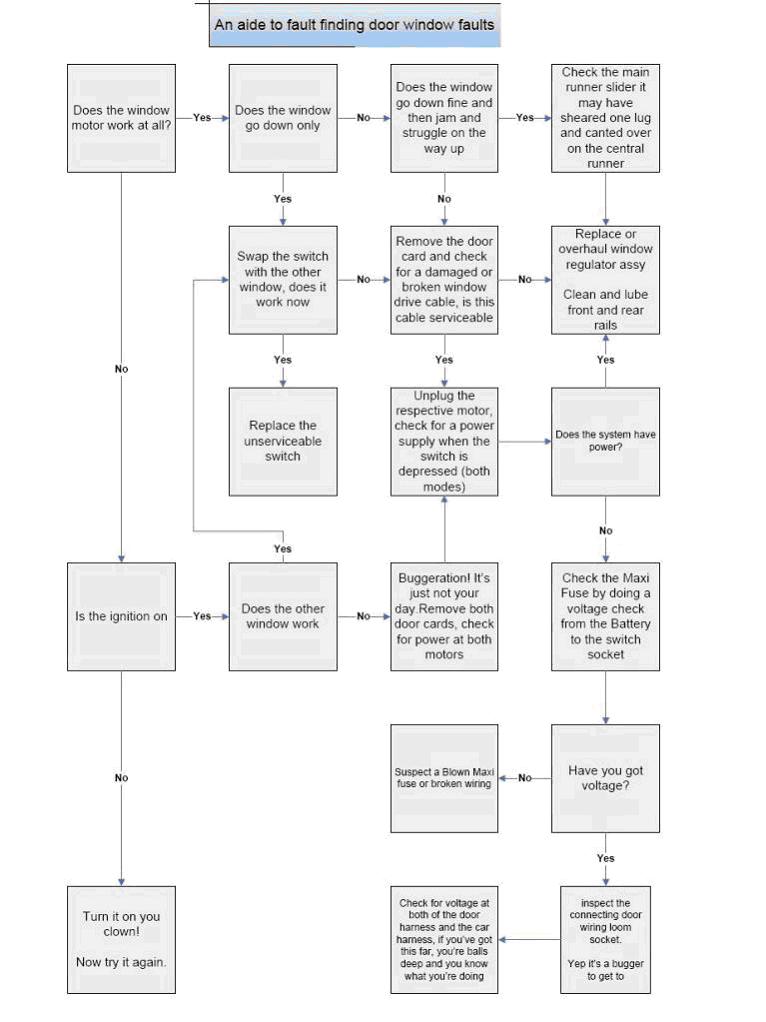
Removal and Refitting of the window
regulator
Warning the
window is heavy and has the ability to crush and possibly
decapitate your
little pinkies should you not take safety precautions.
Have some kitchen roll handy for
later...you'll see why
Getting access before removal
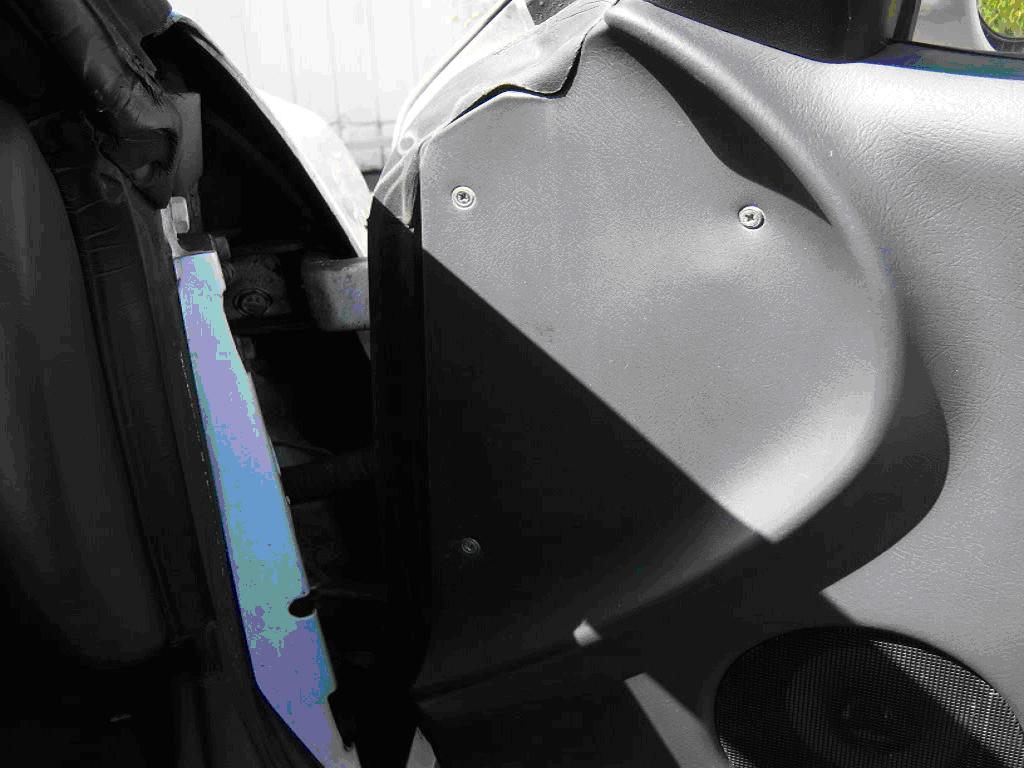
1) Open the car door
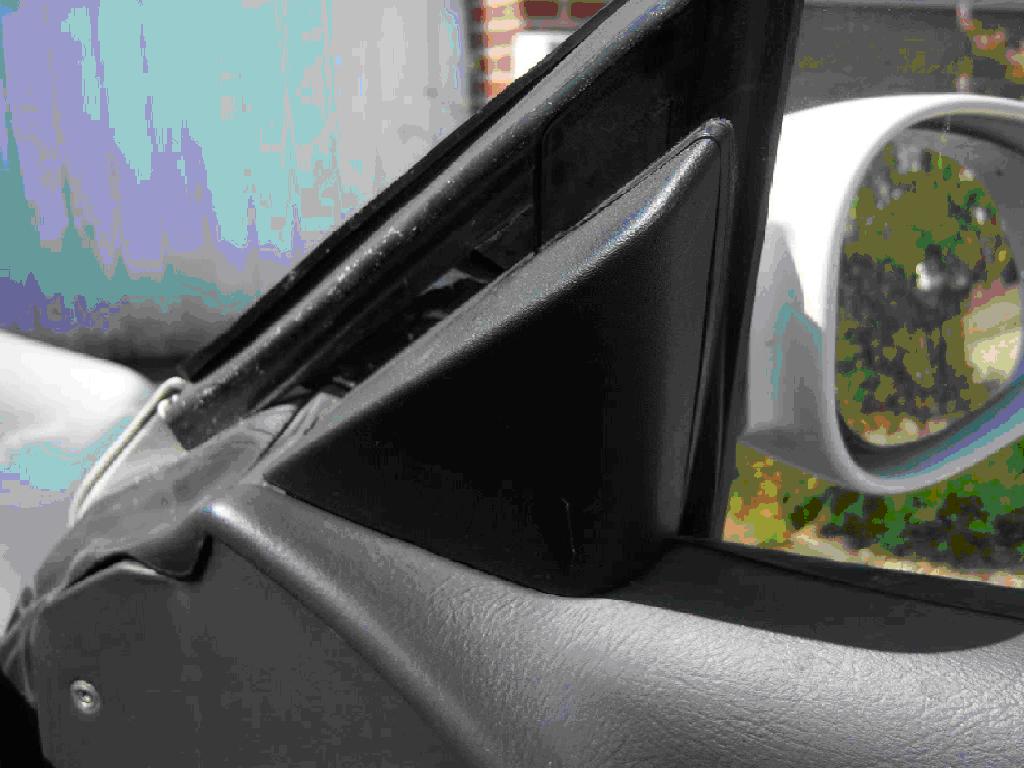
2) Remove the door cheater (the black triangle), it will just pull off from
the top point, it's held in place a plastic equivalent to Velcro.
In true Lotus
style the Velcro won't separate but the glue holding the Velcro will dis-bond.
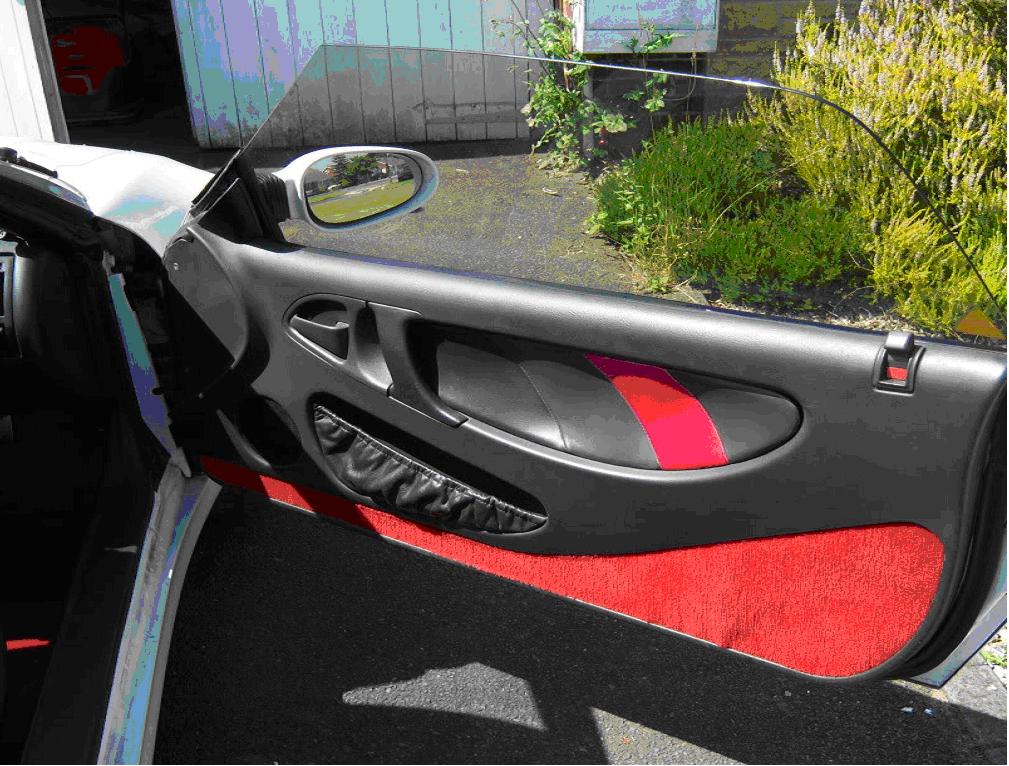
3) Remove the door card insert, that's the red stripy
bit. It's normally a case of just teasing off the insert, but over the
years all manor of adhesives may have been used.
4) This will reveal either two or four screws, remove them them.
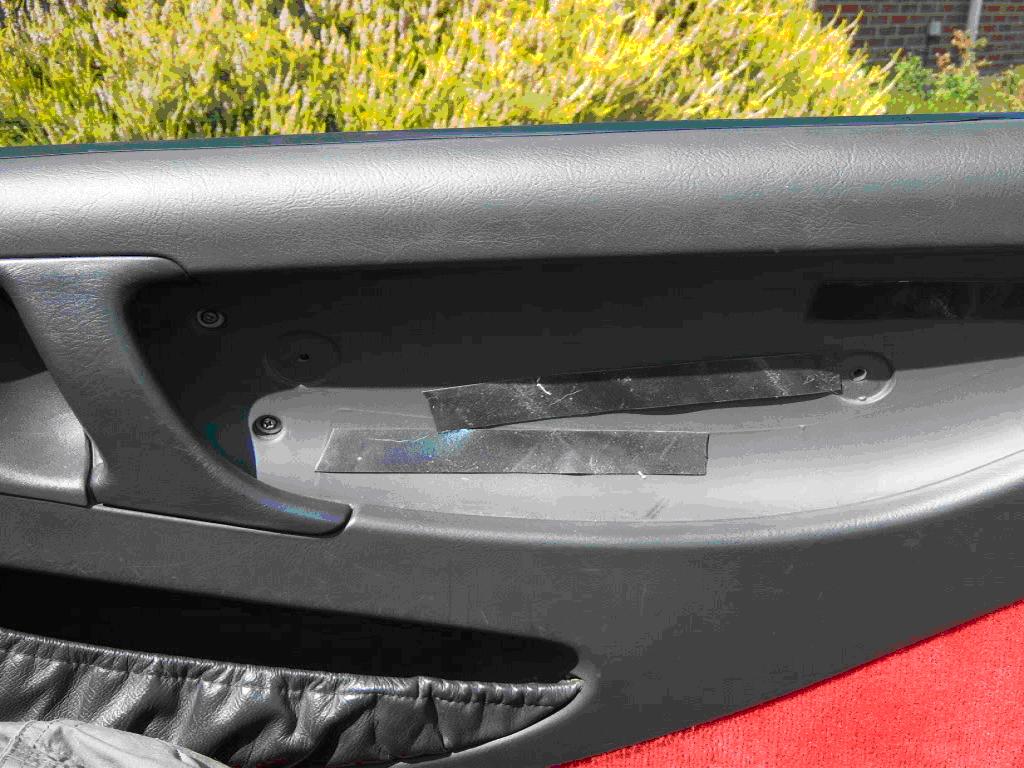
5) Remove the screws in the front of the door card, two or three screws
depending on which door cards are fitted to your car.
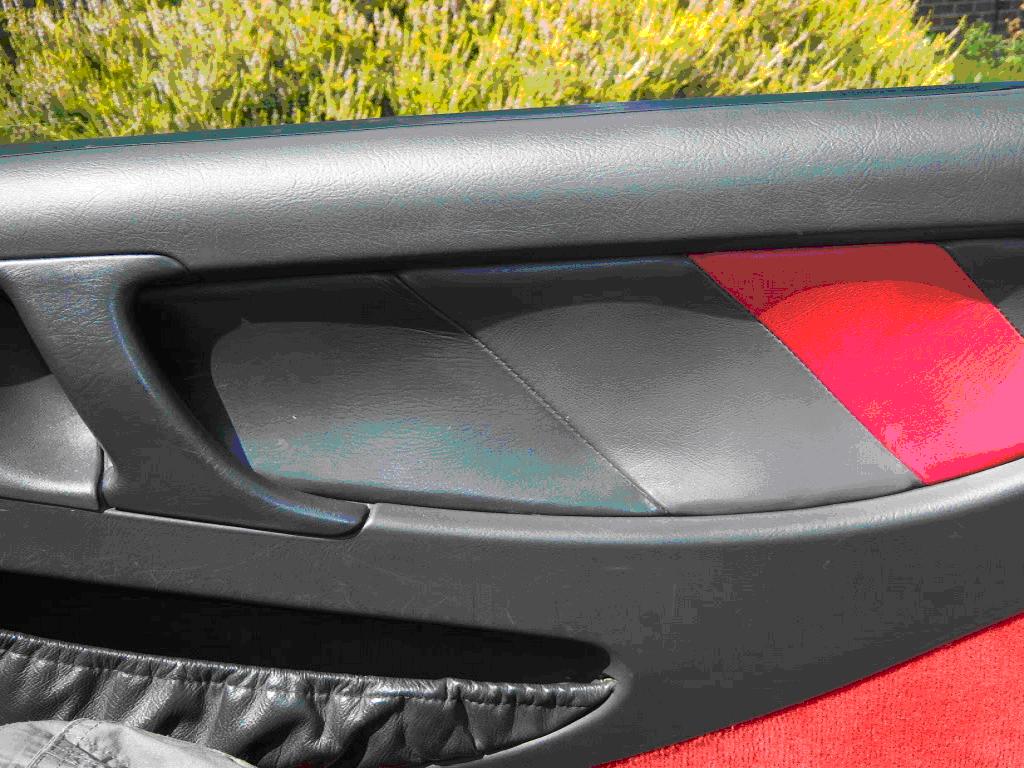
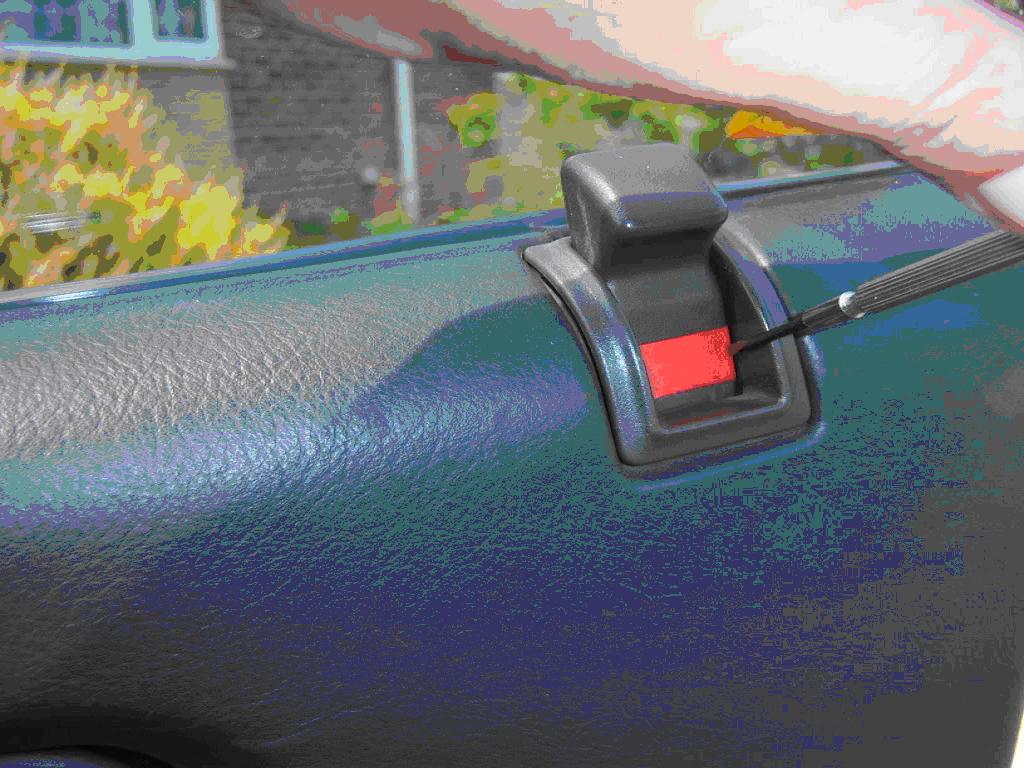
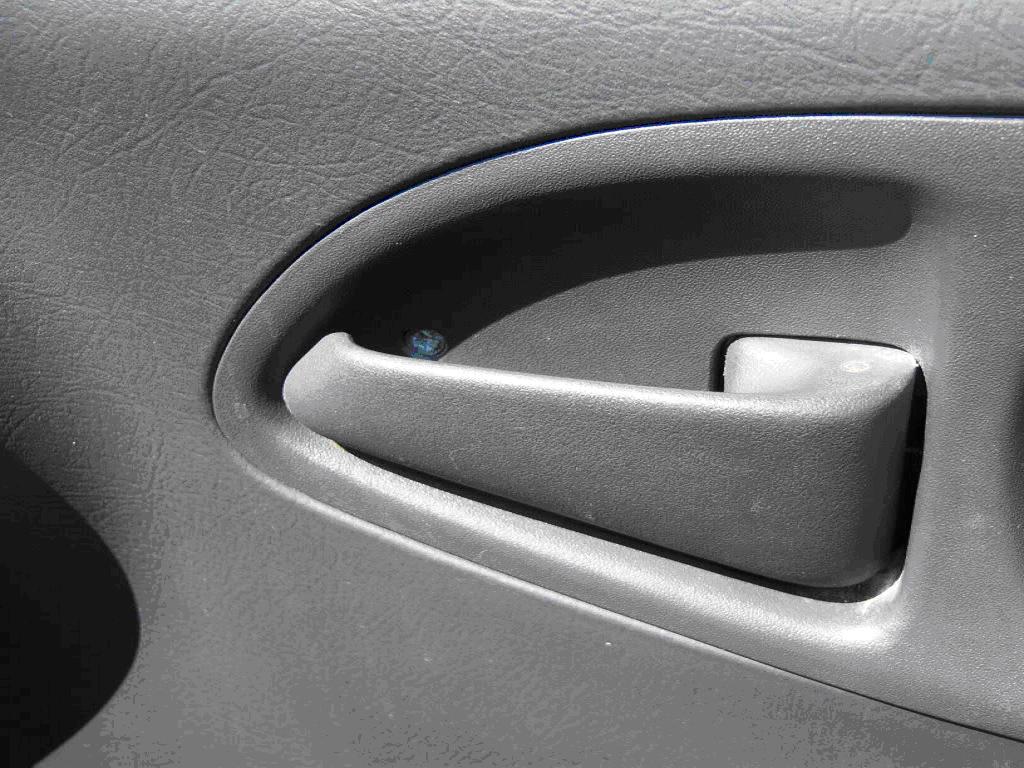
6) Remove the red clip on the door lock plunger and remove the plunger
upwards.
This will give access to another screw which holds on the door card
door lock plunger escutcheon in place.
Remove that screw, remove the lock
plunger escutcheon.
Don't be disheartened if you have just snapped the little
red locking tab.
They are available from Lotus for a couple of pound Pt No
A100B6151H
They are also available from Vauxhall Pt No V0090286850
(Plunger and
clip Pt No V0090252695)
7) Remove the screw on the trailing edge of the door card
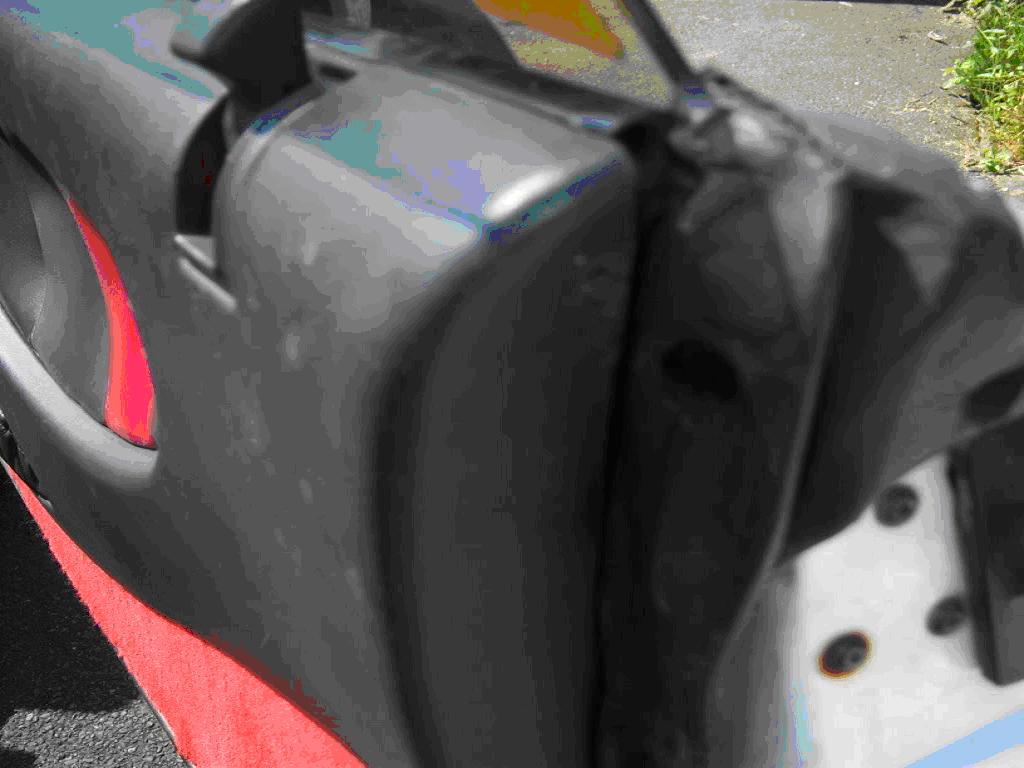
8 ) Remove the door card handle escutcheon, this will reveal two more screws,
remove them.
9) Gentle tease back the door card carpet to reveal several hidden bolts
10) Remove the door card
(No pictures needed)
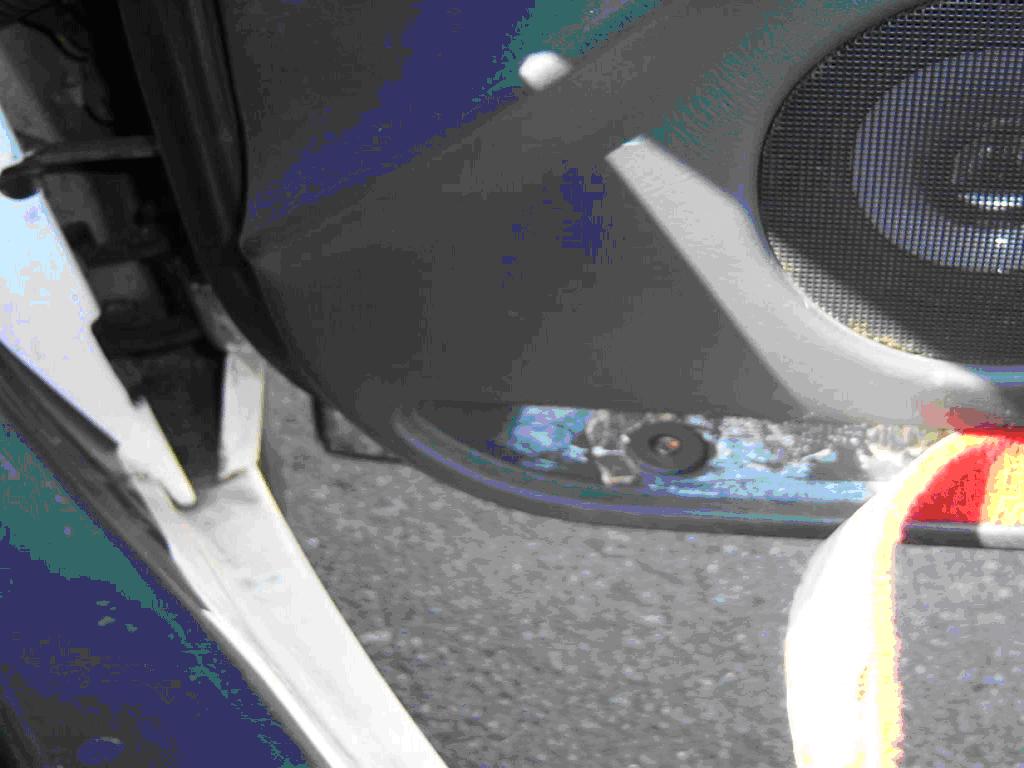
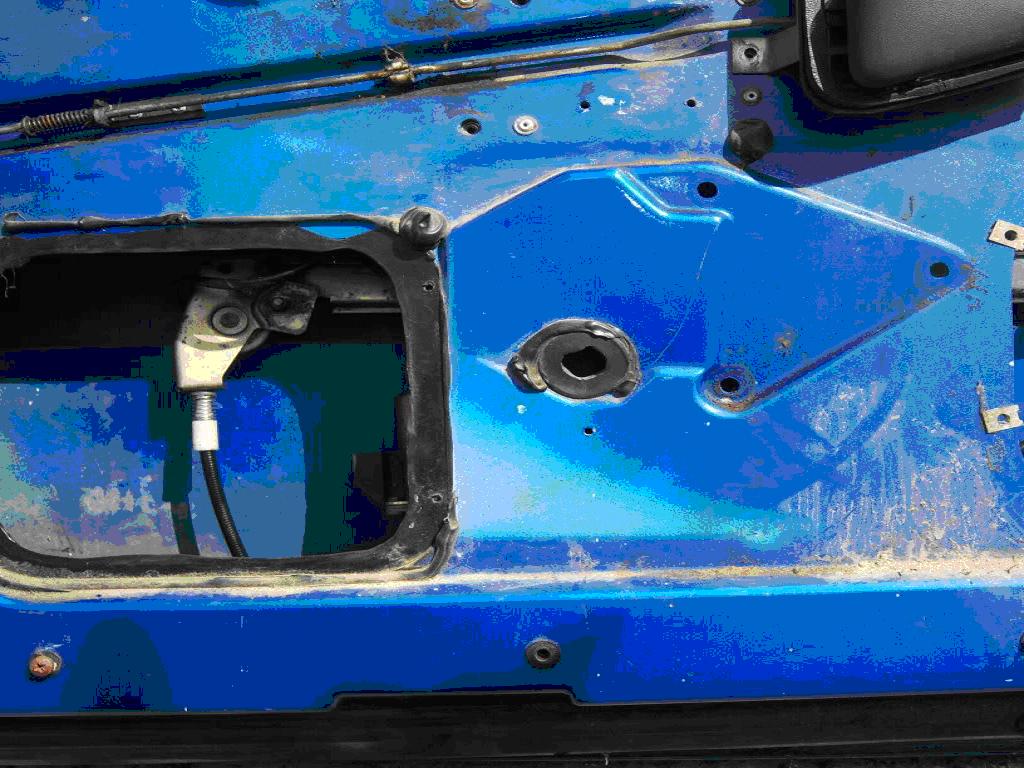
11) Remove the speaker and expose the aperture
12) Remove the other two black plastic covers

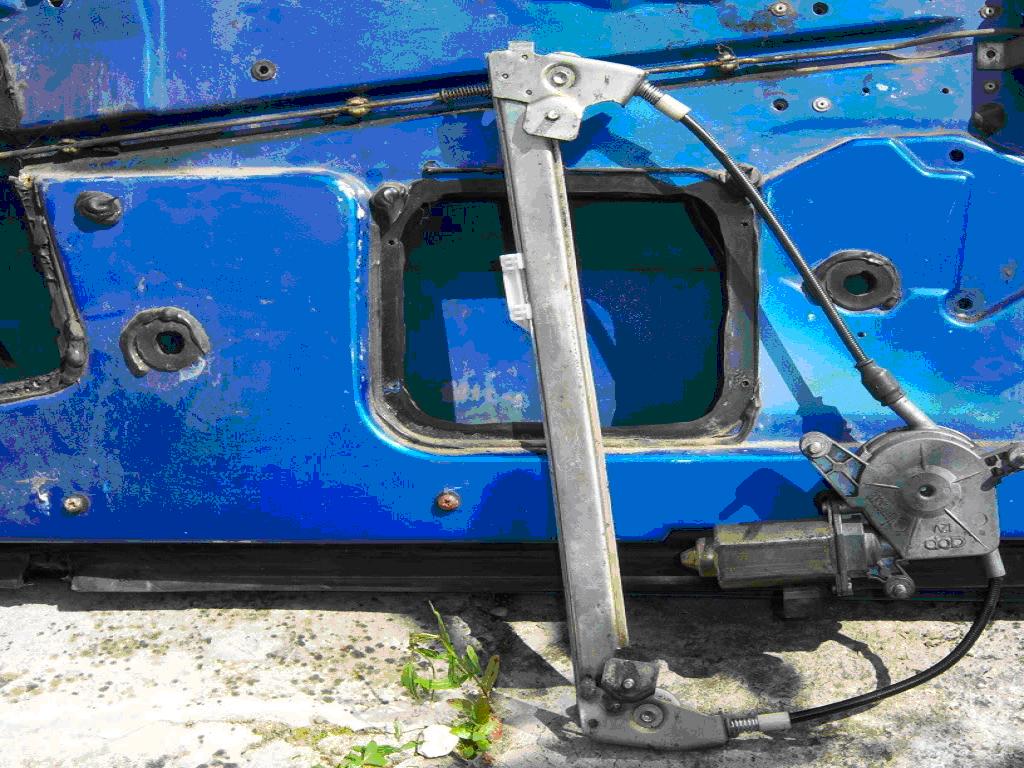
13) This short video is what your aiming to do next, the regulator removal......
Regulator removal, step by
step...
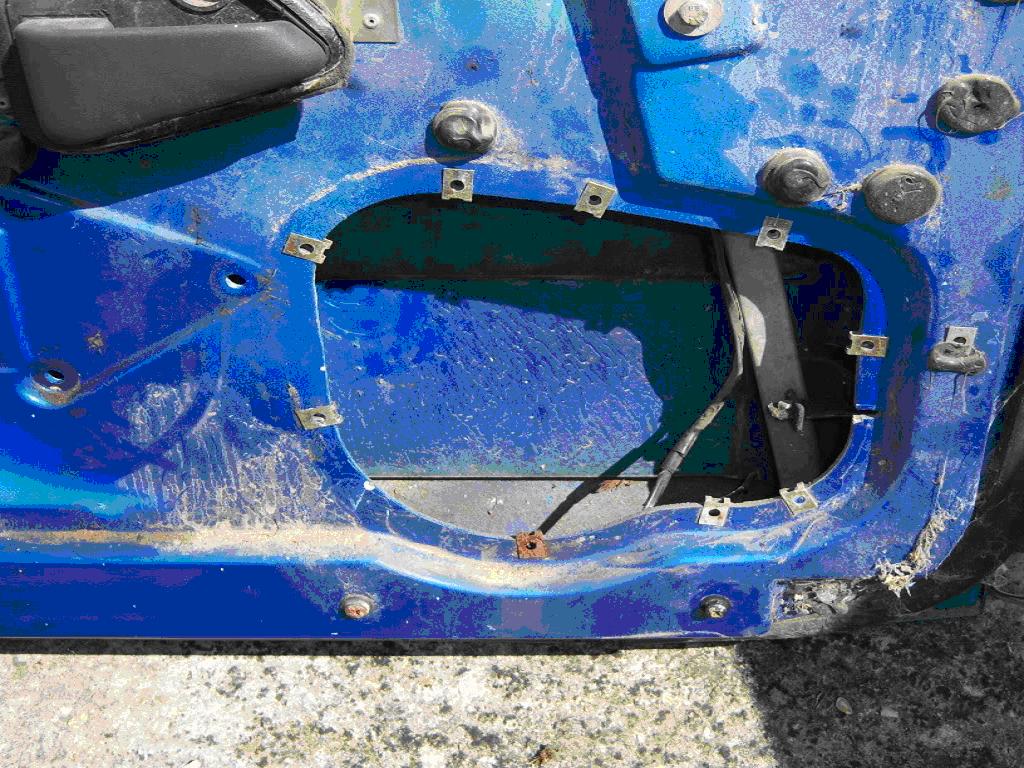
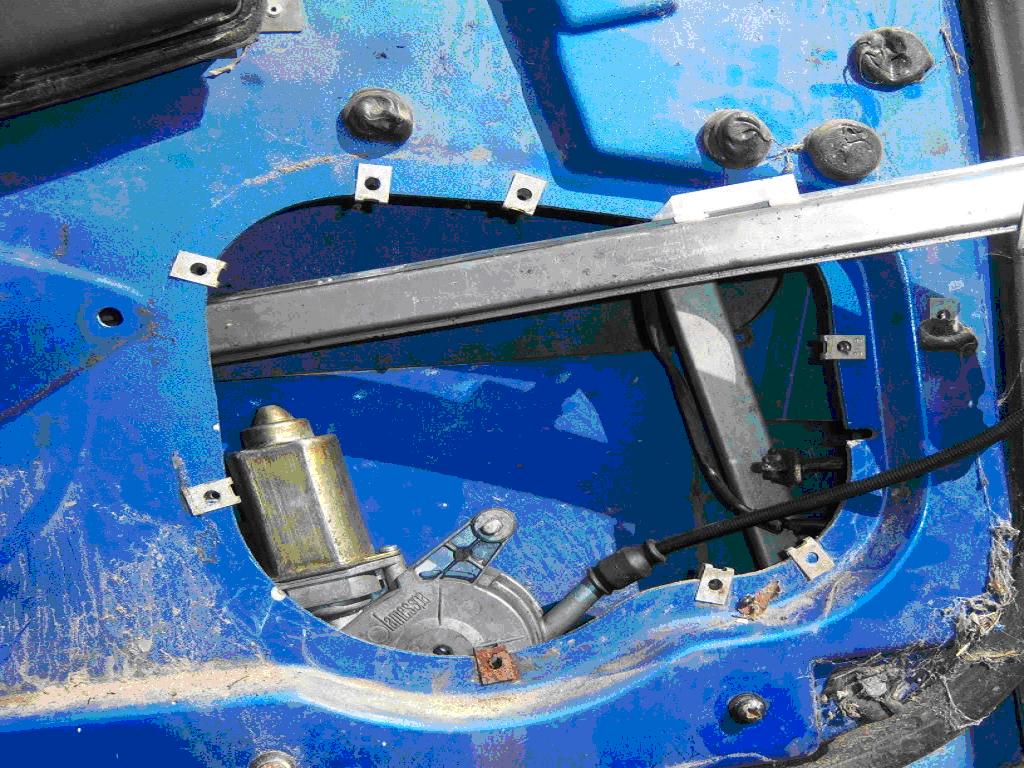
1) At the base of the regulator runner there is a bracket, remove the inner
bolt
and the two bolts underneath the door and extract the bracket
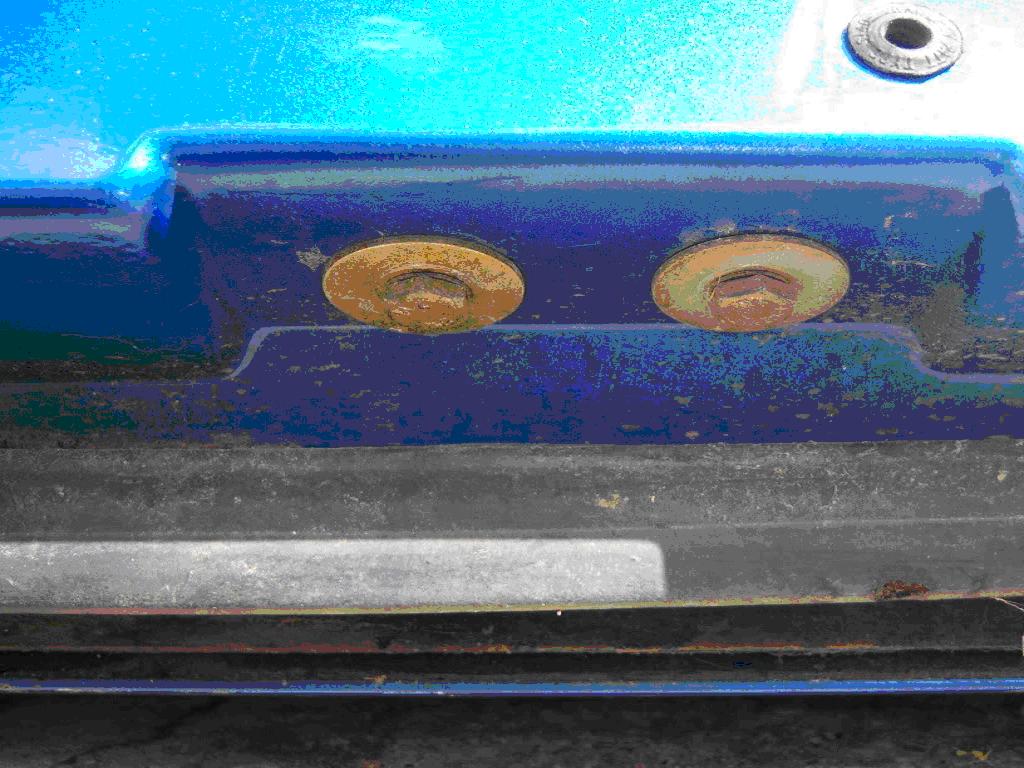
2) the pesky bracket

3) Try and get the main slider/butterfly assembly to just above the door
reinforcing cross member
by using the car electrics and a helping hand.
Normally the window will go down, but will
require a helping hand to go up.
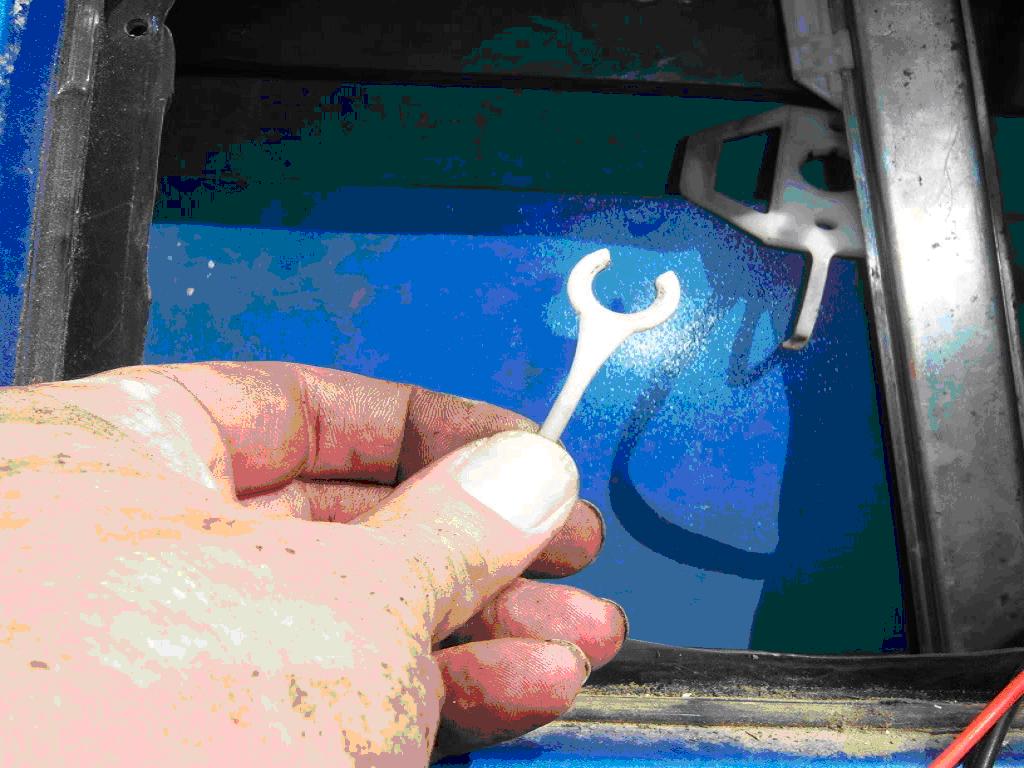
Remove the C-Clip and pop the butterfly off,
remove them clear of the door.
There's a high probability the butterfly clip is now beyond repair, a new lotus
item is NO LONGER available Pt No A100B6271S
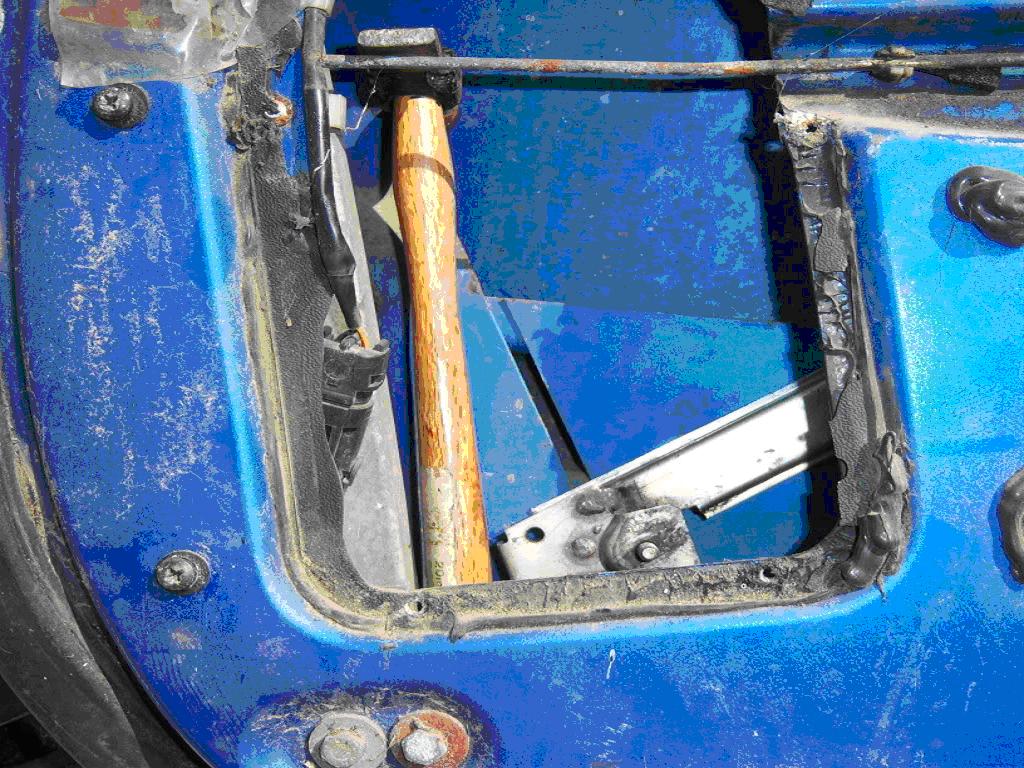
4 ) Pull the window all the way to the top of
the door, insert some sort of safety device to hold the door glass fully up
(The Kitchen roll), or get the better half to
hold the window up. If this glass falls down it's
gonna hurt.
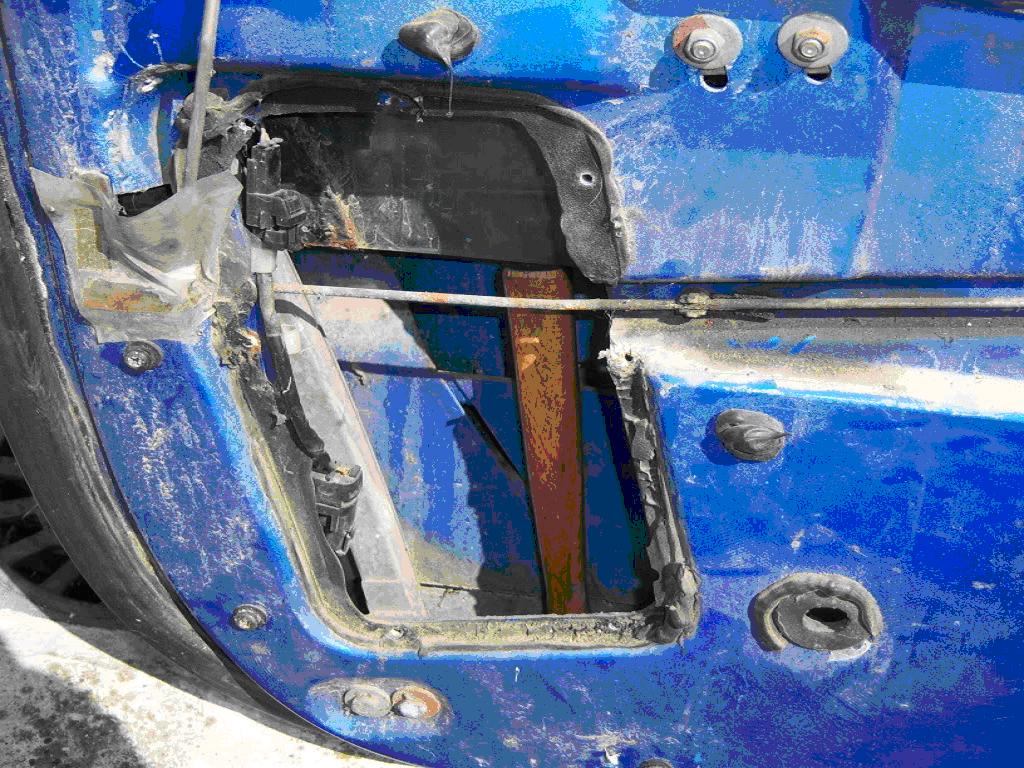
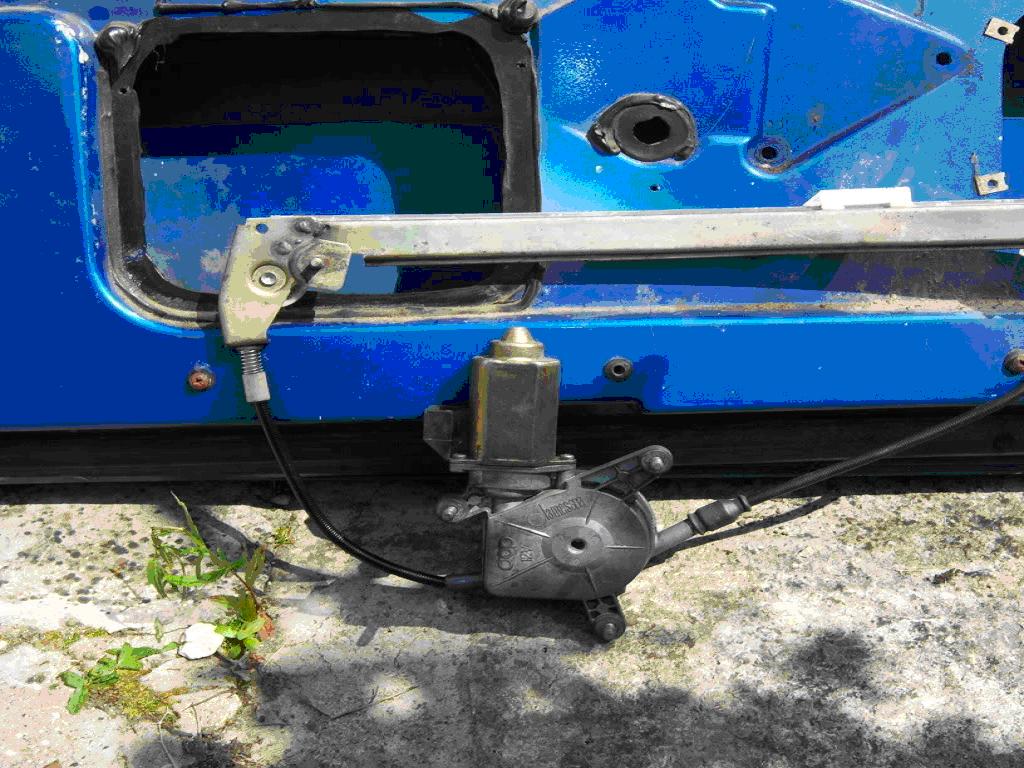
5) disconnect the orange electric plug which goes onto the regulator

6) Remove the upper nut and washer on the slider runner, and then three nuts
and washers in the center of the door
21) you should now be at a stage to undertake the regulator removal.
The trick
is to move the bottom rearwards and then move it upwards,
you should then be
able to pop out the top bolt out of the inner door skin,
lower the assembly down
to the bottom of the door....
and simply squash it down a little bit and slide
the full unit out of the speaker aperture.
Here's the Video again
Now that you've rebuilt the regulator...
I know, that is
another project that will get done soon.
Test the Regulator on the bench.....and then on the cars electrics
Don't bother fitting the unit properly, just slave it in on the outside of the
door.
and just in case,
Here's a video
Refitting
Refitting is simply the reverse.... it's not to far off
to tell the truth.
But here are few photographs and pointers to get you going on your way.
Sorry if it teaching some people to suck eggs, but here goes...
Make sure you have the correct regulator for the correct door, they're handed.
Slave in the regulator and test the unit before you actually fit the item.
Leave the slider a squidge below the mid position, you'll have car electrics to
move the slider should you require
Make sure the door glass is fully up...safety first and all that..kitchen
roll...friend...
The next bit is all about orientation...
1) Make sure you have the correct regulator for the appropriate door, orientate
yourself....
Bolts facing inboard, slider facing
outboard
2) rotate the unit clockwise 90 degrees
3) Squash it down a bit, and slide it in via the speaker aperture
4) Slide the regulator assembly rearwards
5) Tilt the unit to about 45 degrees (maybe higher) and slide the top bolt
through the inner skin from a point just forward of the hole, be aware you may
catch the bottom of the glass. lift the trailing edge higher than 45 degrees
it'll give you more room to play with.
6) once the top bolt is in place the unit can be rotated to the vertical
(replace the top and middle nuts)
7) Then it's as you would expect...lower the window
onto the slider fit the butterfly and circlip
8 )The next part to be careful of is refitting the lower bracket, you will have
the ability to make the door glass strike the door cross member (not good), so
take your time and set the window up correctly.
(basically if you move the bottom of the regulator runner in and out, the
window will move in sympathy all be it in reverse
along the top edge in)
9) make sure your window runs free and easy and
doesn't foul the hood before you rebuild the door card.
And just in case....
Here's a video
Dave Pink's Slider Rollers:
I didn't have enough of the 'rollers' which go in the slider blocks (I had only retrieved 6, out of the eight required) - and one was extremely worn (to the point of being a "U" shape, not an "O" shape), whilst the others were deformed.

At this point, I decided that it would benefit from a new set, but when I looked
at the usual suspects websites, I was horrified that they were Ł2.59 each (+P&P
and VAT), so a set of 8 was going to cost me just shy of Ł30 delivered.
Having decided that a few bits of plastic wern't worth that much, i looked into
what material they are made from, and decided that it was some form of
semi-rigid tubing, with a diamneter of 8mm.
A check of t'internet gave me lots of options, and I started off looking at
Nylon, Delrin and others, before setling on a length of 8mm diameter PTFE rod.
This was chosen as it is extremely hard wearing, slippery and easily machined.
It arrived this morning, so I cut a length off with a stanley knife (really easy
to cut), fitted it in a spare slider block, and found that it was too wide a
diameter to go into the window chanel (being a
rod, not a tube, it didn't compress).
Not having access to a simple lathe, I improvised by setting a drill into a
bench stand (read 'Vice' ![]() ),
cutting a 4" length of rod and mounting it in the chuck. A 'tool rest' was made
from a bit of spare 2" x 2" timber, screwed to the bench about 20mm below the
material, and it took about 20 seconds with a standard wood chisel to turn the
rod down to a smaller size.
),
cutting a 4" length of rod and mounting it in the chuck. A 'tool rest' was made
from a bit of spare 2" x 2" timber, screwed to the bench about 20mm below the
material, and it took about 20 seconds with a standard wood chisel to turn the
rod down to a smaller size.
Trial and error decided that the size required is 7.2mm, and i ended up with a
lot of undersized ones until i found a size which I'm happy with, and then made
9 others the same.

The pic shows a length of 8mm rod (which is actually nearer to 8.5mm) the new
solid rollers, and some of the old knackered ones.
I bought 2 x 300mm lengths of rod from
ebay for Ł4.40... ordered it yesterday afternoon, arrived this morning -
can't get better than that!
Only actually needed one (even with the trial and error bits!) - but it'll come
in handy for something, no doubt.